Introduction
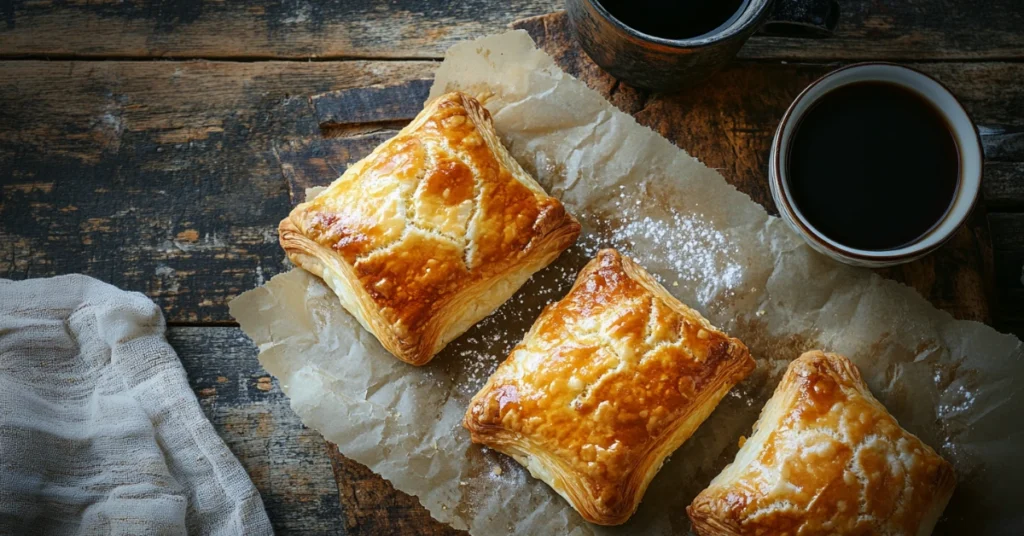
When it comes to mastering the art of Swiss baking, few recipes are as cherished as the Gipfeli recipe. A Gipfeli, often likened to a croissant, is a crescent-shaped pastry with a slightly denser texture and a unique Swiss touch. It’s an absolute delight to prepare and even more satisfying to savor, whether it’s fresh out of the oven or paired with a morning coffee.
This guide will take you through everything you need to know about crafting the perfect Gipfeli recipe, from its rich history to the precise techniques that make it a standout pastry. With detailed instructions, tips, and variations, you’ll soon become an expert at making this irresistible treat.
1. The History of Gipfeli Recipe
1.1. Origins of Swiss Gipfeli Pastries
The Gipfeli recipe has its roots in Swiss culinary tradition, a region renowned for its meticulous and innovative approach to baked goods. The word “Gipfeli” comes from the German word “Gipfel,” which translates to “peak” or “crescent,” aptly describing the pastry’s iconic shape. While it bears a resemblance to the French croissant, the Gipfeli has evolved into its own distinct delicacy, embodying Swiss culture and tastes.
The origins of the Gipfeli can be traced back to the 19th century when it became a staple breakfast item in Switzerland. Bakers crafted these pastries with slightly less butter than their French counterparts, resulting in a texture that’s a bit firmer yet still flaky. Over the years, the Gipfeli gained popularity due to its versatility and compatibility with various sweet and savory fillings.
1.2. How Gipfeli Differs from Traditional Croissants
At first glance, the Gipfeli might appear similar to a croissant, but subtle differences set it apart. The Gipfeli recipe typically involves less butter and sugar, giving it a milder flavor profile and denser texture. Unlike the croissant, which is often airy and crisply layered, Gipfeli pastries offer a heartier bite that complements Swiss breakfast spreads or on-the-go meals.
Additionally, Gipfeli are often smaller than croissants, making them easier to enjoy in one or two bites. This compact size aligns with Swiss practicality and culinary preferences, where balance and moderation are key. The flavor can also vary slightly, as Swiss bakers often incorporate local ingredients like spelt flour or regional butter for a unique twist.
2. Ingredients for Gipfeli Recipe
2.1. Essential Ingredients for Gipfeli
To prepare the perfect Gipfeli recipe, you’ll need a carefully chosen set of ingredients. Each component plays a vital role in achieving the ideal flavor and texture:
- Flour: All-purpose flour works well, but some recipes recommend bread flour for a chewier texture.
- Butter: High-quality, unsalted butter is crucial for creating flaky layers. Swiss butter, known for its rich and creamy texture, is a fantastic choice.
- Yeast: Active dry yeast or fresh yeast ensures the dough rises beautifully.
- Milk: Adds a touch of richness and helps in creating a tender crumb.
- Sugar: Enhances the subtle sweetness of the pastry.
- Salt: Balances the flavors and enhances the buttery taste.
- Eggs: Used for brushing the Gipfeli before baking to create a golden crust.
2.2. Tips for Selecting High-Quality Ingredients
- Flour: Opt for unbleached, high-protein flour to ensure the dough has enough elasticity for lamination.
- Butter: Use European-style butter with a higher fat content (at least 82%) for flakier layers.
- Milk: Whole milk provides the best results, but plant-based alternatives can be used for a dairy-free version.
- Yeast: Always check the expiration date on your yeast to ensure proper dough rise.
Investing in premium-quality ingredients will elevate the final product and make your Gipfeli recipe a success.
3. Tools You Need for a Gipfeli Recipe
3.1. Must-Have Kitchen Tools for Success
Making Gipfeli requires a few essential tools to streamline the process and achieve professional-quality results:
- Rolling Pin: For evenly rolling out the dough during lamination.
- Mixing Bowls: Use large, sturdy bowls to mix and rest the dough.
- Pastry Brush: For brushing egg wash onto the Gipfeli before baking.
- Baking Sheets: Non-stick or parchment-lined sheets to prevent sticking.
- Sharp Knife or Pizza Cutter: For precise cutting of the dough into triangular shapes.
- Measuring Cups and Spoons: Ensures accurate measurements for all ingredients.
3.2. Optional Tools to Elevate the Process
For an even smoother baking experience, consider adding these tools to your kitchen arsenal:
- Pastry Scraper: Makes it easier to handle and fold dough.
- Dough Mat: A non-slip surface with measurements to guide you while rolling out the dough.
- Stand Mixer with Dough Hook Attachment: Speeds up the mixing and kneading process.
- Cooling Rack: Ensures the baked Gipfeli cool evenly without becoming soggy on the bottom.
Investing in quality tools not only simplifies the process but also enhances the final appearance and taste of your Gipfeli recipe.
4. Preparing the Dough for Gipfeli Recipe

4.1. Mixing the Dough Step-by-Step
The foundation of a great Gipfeli recipe lies in the dough. Follow these steps to prepare the base for your pastries:
- Activate the Yeast:
- In a small bowl, combine 1/4 cup of warm milk (about 110°F) with a teaspoon of sugar and 1 packet of active dry yeast. Stir and let it sit for 5–10 minutes until frothy. This ensures the yeast is active.
- Combine Dry Ingredients:
- In a large mixing bowl, sift 3 cups of all-purpose flour, 2 tablespoons of sugar, and 1 teaspoon of salt. Mix these dry ingredients thoroughly.
- Incorporate Wet Ingredients:
- Gradually add the frothy yeast mixture, 3/4 cup of warm milk, and 2 tablespoons of softened butter to the dry ingredients. Mix gently with a wooden spoon or your hands until a rough dough forms.
- Knead the Dough:
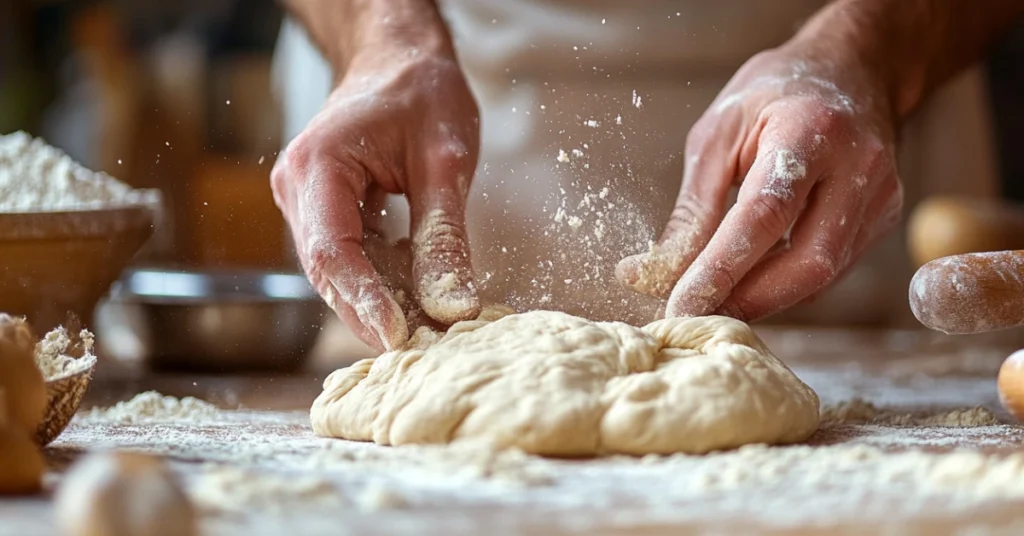
- Transfer the dough to a lightly floured surface and knead for about 8–10 minutes until it becomes smooth and elastic. If using a stand mixer, knead with a dough hook for 5 minutes.
- Initial Rest:
- Place the dough in a lightly oiled bowl, cover with a clean kitchen towel, and let it rise for 1–2 hours in a warm place. The dough should double in size.
4.2. Resting the Dough for Optimal Results
Resting the dough is a critical step in the Gipfeli recipe. It allows the gluten to relax and makes the dough easier to roll and shape. Here’s what you need to keep in mind:
- Ideal Environment: Let the dough rest in a warm, draft-free spot. If your kitchen is cold, place the bowl in an oven with the light on to maintain a cozy temperature.
- Cover Properly: Use a damp kitchen towel or plastic wrap to cover the dough and prevent it from drying out.
- Second Rest: After the dough has doubled in size and before starting the lamination process, refrigerate it for 30 minutes. Cold dough is easier to handle during the next steps.
This careful preparation ensures a soft, pliable dough, ready for the butter layering process.
5. Mastering the Lamination Process
5.1. Adding Butter to the Dough
Lamination is the hallmark of flaky pastries like the Gipfeli. This step creates the distinct layers of buttery goodness:
- Prepare the Butter Block:
- Cut 1 cup (225g) of unsalted butter into pieces and place it between two sheets of parchment paper. Pound and roll it into a rectangular block about 1/4 inch thick. Chill the butter block until it is firm but pliable.
- Roll Out the Dough:
- Roll the rested dough into a rectangle twice the size of the butter block.
- Enclose the Butter:
- Place the butter block in the center of the dough rectangle. Fold the dough over the butter like an envelope, completely encasing it. Pinch the edges to seal the butter inside.
5.2. Folding and Layering Techniques
Now, it’s time to create those beautiful layers:
- First Fold (Single Turn):
- Roll the dough into a long rectangle, about three times its width. Fold the top third of the rectangle down, then fold the bottom third up, like folding a letter. This creates the first set of layers. Chill the dough for 20–30 minutes.
- Second Fold (Double Turn):
- Repeat the rolling and folding process two more times, chilling the dough between each fold. This step is essential for developing the flaky texture of the Gipfeli recipe.
- Final Chill:
- After completing the folds, wrap the dough in plastic wrap and refrigerate for at least 1 hour. This step firms the butter and allows the gluten to relax.
Lamination may take time, but it’s the key to achieving the perfect layers that define a great Gipfeli recipe.
6. Shaping and Proofing the Gipfeli

6.1. Cutting and Rolling into Crescents
Once the dough is laminated and chilled, it’s ready to be shaped:
- Roll Out the Dough:
- Roll the dough into a large rectangle, about 1/8 inch thick. Use a sharp knife or pizza cutter to divide the dough into triangles. Each triangle should have a wide base and a pointed tip.
- Shape the Crescents:
- Starting at the base of each triangle, roll the dough tightly toward the tip. Curve the rolled pastry slightly to form the classic crescent shape.
- Arrange on a Baking Sheet:
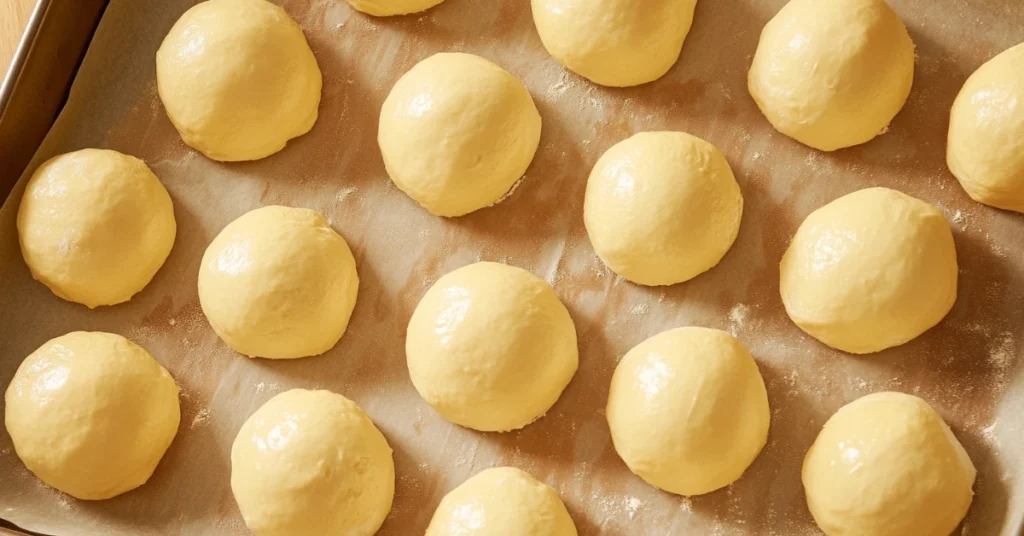
- Place the shaped Gipfeli on a parchment-lined baking sheet, ensuring there’s enough space between them for expansion.
6.2. Proper Proofing for Light, Fluffy Results
Proofing is the final step before baking and is crucial for achieving a light texture:
- Ideal Environment:
- Let the shaped Gipfeli rise in a warm, humid place. A proofing box or an oven with a bowl of hot water works well.
- Duration:
- Allow the Gipfeli to proof for 1–2 hours until they’ve doubled in size. Do not rush this step, as under-proofed pastries will be dense and heavy.
- Egg Wash:
- Just before baking, brush the Gipfeli with a mixture of 1 beaten egg and 1 tablespoon of milk. This step ensures a shiny, golden crust.
7. Baking the Perfect Gipfeli Recipe

7.1. Baking Times and Ideal Temperatures
The baking step is where your effort transforms into delicious, golden Gipfeli. Follow these guidelines to ensure success:
- Preheat the Oven:
- Set your oven to 375°F (190°C). Preheating is essential for even baking and achieving that golden, flaky crust.
- Position the Rack:
- Place the baking sheet on the middle rack to prevent the bottoms from overbaking while ensuring even heat distribution.
- Bake the Gipfeli:
- Bake the pastries for 15–20 minutes or until they are golden brown. Keep a close eye during the last 5 minutes to avoid overbaking.
- Cool on a Wire Rack:
- Once baked, remove the Gipfeli from the oven and let them cool on a wire rack for 10–15 minutes. Cooling prevents the bottoms from becoming soggy and allows the layers to set properly.
7.2. Tips for Achieving a Golden, Flaky Crust
- Egg Wash Application:
- Brush the egg wash evenly across the surface of each Gipfeli to ensure a shiny, golden appearance. Avoid overloading, as too much can drip and burn on the baking sheet.
- Steam for Extra Flakiness:
- Place a small oven-safe dish with water in the oven while baking. The steam will enhance the flakiness of the layers.
- Rotate the Tray:
- Halfway through baking, rotate the baking sheet to ensure even browning on all sides.
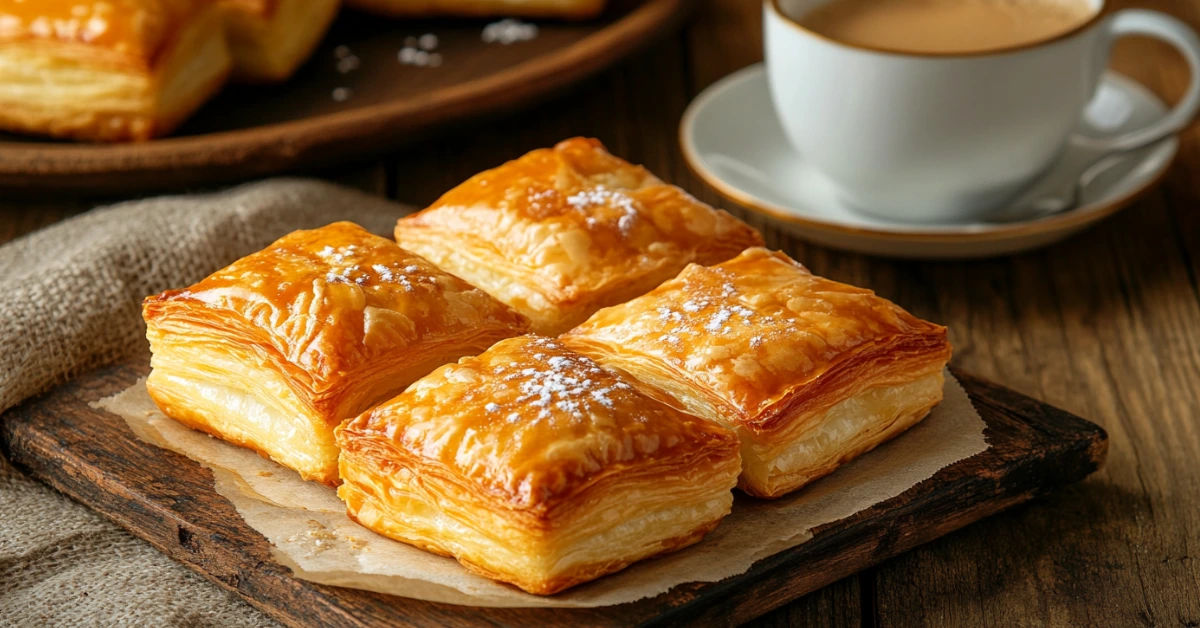
These steps guarantee perfectly baked Gipfeli that are crisp on the outside and tender on the inside.
8. Variations of Gipfeli Recipe
8.1. Sweet Variations (e.g., Chocolate-Filled Gipfeli)
The Gipfeli recipe is highly versatile, lending itself to a variety of sweet fillings and toppings. Here are some popular options:
- Chocolate-Filled Gipfeli:
- Before rolling the dough into crescents, place a small piece of dark chocolate or a spoonful of Nutella at the base of each triangle. Roll and bake as usual for a rich, gooey surprise.
- Almond Gipfeli:
- Fill each Gipfeli with a mixture of almond paste and a dash of vanilla extract. After baking, dust with powdered sugar or drizzle with almond glaze.
- Fruit-Filled Gipfeli:
- Use jams or fruit preserves, such as raspberry or apricot, as a filling. Ensure the jam is thick to prevent it from leaking during baking.
- Sugar-Topped Gipfeli:
- Sprinkle coarse sugar on top of the egg wash for added sweetness and crunch.
8.2. Savory Versions (e.g., Ham and Cheese)
If you prefer a savory twist, the Gipfeli recipe can easily adapt to hearty fillings:
- Ham and Cheese:
- Add thin slices of ham and Swiss cheese to the base of each triangle before rolling. Perfect for breakfast or lunch.
- Spinach and Feta:
- Combine cooked spinach with crumbled feta cheese and a pinch of nutmeg. Spread the mixture on the triangle before shaping.
- Herb Butter Gipfeli:
- Spread a thin layer of garlic herb butter on the dough before rolling. The butter melts during baking, infusing the pastry with aromatic flavors.
- Sun-Dried Tomato and Parmesan:
- Chop sun-dried tomatoes and mix with grated Parmesan cheese for a Mediterranean-inspired filling.
The possibilities are endless, making the Gipfeli recipe a staple for both sweet and savory cravings.
9. FAQ About Gipfeli Recipe
9.1. What makes the Gipfeli recipe different from a croissant recipe?
The Gipfeli recipe uses less butter and sugar compared to a traditional croissant recipe, resulting in a denser texture and a slightly less rich flavor. Additionally, Gipfeli are often smaller and more compact, making them a practical choice for a quick snack or breakfast.
9.2. Can I make a Gipfeli recipe without butter?
While butter is essential for creating the flaky layers characteristic of Gipfeli, you can substitute it with plant-based alternatives like vegan butter or margarine for a dairy-free version. Be sure to use a high-fat alternative for the best results.
9.3. Why didn’t my Gipfeli rise properly?
If your Gipfeli didn’t rise, it’s likely due to one of these reasons:
- The yeast was expired or not activated correctly. Always test your yeast before use.
- The dough wasn’t proofed in a warm enough environment.
- The butter melted during lamination, disrupting the layers. Ensure your dough and butter are chilled during the folding process.
9.4. Can I freeze Gipfeli dough for later use?
Yes, you can freeze Gipfeli dough:
- After laminating and shaping, place the dough on a baking sheet and freeze until firm. Then transfer to a freezer-safe bag.
- When ready to bake, thaw the dough in the refrigerator overnight and proof before baking.
Conclusion
The Gipfeli recipe is a delightful journey into the world of Swiss baking, offering a unique pastry experience that is both versatile and rewarding. Whether you’re savoring the buttery, flaky layers of a classic Gipfeli or experimenting with sweet and savory fillings, this recipe showcases the art and tradition of Swiss cuisine. You can learn more about Gipfeli and its origins on Wikipedia, which highlights its place within regional pastry traditions.
By mastering each step—from preparing the dough and perfecting the lamination process to shaping, proofing, and baking—you can recreate this Swiss delicacy in your own kitchen. With proper storage and reheating techniques, you can enjoy the fruits of your labor long after baking day.
Above all, the Gipfeli recipe brings joy and warmth to any occasion, from breakfast tables to festive celebrations. So, gather your ingredients, roll up your sleeves, and embark on this flavorful adventure. There’s nothing quite like the satisfaction of biting into a homemade Gipfeli that you’ve crafted with care.
Happy baking!

